Developers find the Connect-flash module in Node.js immensely beneficial for sending flash messages during user interactions on web applications. This module plays a crucial role when a user navigates to a certain webpage, enabling the display of a temporary pop-up message. For instance, in a demonstration Node.js application, this feature can be leveraged to inform users about their login and logout activities through flash messages, enhancing user experience and communication.
Flash messages are stored in a session-specific area, designed to hold messages temporarily. Once a user views these messages, they are automatically cleared from the session. This mechanism is particularly effective in combination with page redirects, ensuring that messages are displayed promptly on the subsequent page load.
Dive into Node.js and Npm
To further explore Node.js and Npm, including how to export data to a CSV file using multiple Npm packages, developers are encouraged to engage with hands-on activities.
Hands-on Experience with Flash Messages
This hands-on section meticulously walks through the detailed process of integrating flash messages into webpages, specifically designed to relay success or failure notifications to users. The procedure not only enriches user interaction but also serves as an educational journey for developers to master this aspect of Node.js applications.
- Initiate Project Setup: The first step involves creating a `package.json` file, which acts as the blueprint for your project, outlining dependencies and project details. This file is foundational for Node.js projects and sets the stage for further development steps;
- Install Required Packages: With the project setup underway, the next step is to install essential packages that enable the functionality of flash messages. This includes `connect-flash` for message flashing, `express` as the web application framework, `express-session` for session management, and `ejs` for templating. These installations are crucial for the success of the project;
- Verify Package Installations: After installing the necessary packages, it’s important to verify that they are correctly integrated into the project. This step ensures that all components are in place and functional, setting a solid foundation for building the application;
- Configure Application Settings: This phase includes defining a port number for the application to run on and creating a session secret. The session secret is a key component in securing the application, as it encrypts user session information, safeguarding personal data;
- Define Routes for Message Display: The application’s routes are specified to direct where and how flash messages are displayed. This involves setting up specific URLs that, when accessed, will trigger the flash messages to appear, guiding users through the application’s flow;
- Install and Configure the EJS View Engine: To display the flash messages, the `ejs` view engine is installed. This tool allows developers to generate dynamic HTML pages with embedded JavaScript. A template for the message display is then created, which defines how messages will be visually presented to users;
- Implement Flash Messages: With the infrastructure in place, the next step is to implement the flash messages themselves. This involves integrating the connect-flash middleware into the application, enabling the flashing of messages across sessions;
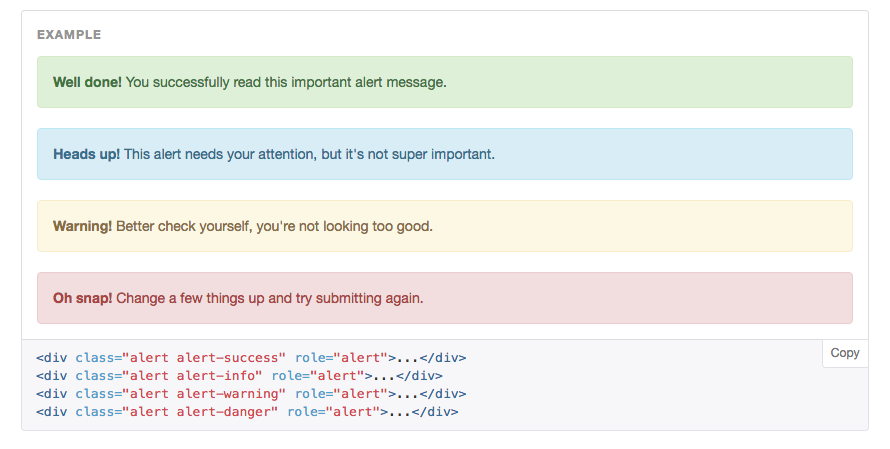
- Beautify Message Display: To enhance user experience, the appearance of the flash messages is refined. This could involve adding CSS styles to the message display template, ensuring that the messages are not only informative but also visually appealing;
- Finalize and Test the Application: The culmination of the process is to restart the server and test the implementation thoroughly. This final step is critical to ensure that all elements work harmoniously, and the flash messages display as intended across various scenarios.
By following these steps, developers can effectively implement flash messages in their Node.js applications, significantly enhancing user interaction. This process not only serves the practical purpose of informing users about the success or failure of their actions but also enriches the developer’s skills in creating more interactive and user-friendly web applications.
Essential Installations
- Node.js: A JavaScript runtime essential for executing JavaScript code server-side. Node.js enables developers to build scalable and efficient web applications by leveraging JavaScript’s capabilities beyond the browser. This environment is critical for running the server-side part of web applications, allowing for asynchronous programming and non-blocking I/O operations, which significantly enhance the application’s performance and scalability;
- Connect-flash: Facilitates the display of pop-up messages to users during navigation. This middleware is a powerful tool for enhancing user experience by providing immediate, context-sensitive feedback. It is particularly useful in scenarios such as login attempts, form submissions, or any action that requires user notification. Connect-flash messages are stored in session temporarily and are deleted once displayed, making them a secure way to convey information without exposing it to future requests;
- Express: A framework for Node.js, necessary for implementing the connect-flash package. Express simplifies the development of web applications and APIs with a minimalistic, yet powerful set of features. It provides robust routing, middleware support, and template rendering options, making it an indispensable tool for rapid development. Express’s architecture is designed to be flexible and extensible, enabling developers to build complex applications with efficiency and ease;
- Express-session: Manages sessions during flash messaging. This package is essential for tracking users’ state across multiple requests. By creating a session, applications can store and access user data securely during their visit, facilitating personalized interactions. Express-session is a key component in implementing authentication, authorization, and flash messaging, ensuring that sensitive information is kept secure and messages are displayed to the right user at the right time;
- ejs: A template language for generating HTML pages with JavaScript. EJS stands out for its simplicity and power in integrating JavaScript with HTML. It allows developers to create dynamic content by embedding JavaScript code directly into HTML templates. This makes it easier to generate complex web pages that respond to user inputs or display data from a database. EJS’s straightforward syntax and compatibility with Express make it a preferred choice for many Node.js developers looking to render server-side HTML.
A cautionary note underscores the importance of having Node.js properly installed to avoid errors throughout the process.
How to Connect-Flash?
The procedure for implementing flash messages encompasses several steps, starting with the creation of a new directory and initializing a new `package.json` file. The installation of dependencies such as connect-flash, express, and express-session is critical. The process involves configuring the application to use these packages, defining a port, encrypting session information, and setting up routes for message display. The incorporation of the ejs view engine and the creation of a `flash.ejs` file are pivotal for displaying messages. Modifications to the route and the beautification of the message display enhance the overall user experience.
Conclusion
The tutorial concludes by highlighting the capability to display flash messages on webpages, a feature that significantly improves user interaction by providing immediate feedback on actions such as login and logout. From the initial steps of setting up the project infrastructure to the final stages of implementing and beautifying the message display, this hands-on experience offers a comprehensive guide to utilizing flash messages in Node.js applications. Future blogs promise to delve into more use cases, further enriching developers’ toolkits.