Node.js stands as an integral pillar within contemporary web development, providing a robust runtime setting for the execution of JavaScript code on the server side. Nonetheless, akin to any software instrument, Node.js may sporadically encounter setbacks, with one of the prevalent ones being the infamous “Command Not Found” error. Should you find yourself grappling with this particular hurdle, do not despair! In the ensuing discourse, we shall delve into the roots of this error and elucidate efficient remedies to swiftly rectify it.
Diagnosing and Resolving Node.js Command Not Found Error
Encountering a “Node.js command not found” error can be frustrating, but understanding the underlying reasons can help you resolve it efficiently. Below are some common causes and solutions to this issue:
1. Incorrect Installation:
- Incomplete Installation: If Node.js is not installed correctly, it may lead to the absence of the executable file in the expected location;
- Version Compatibility: Ensure that you’re installing a version of Node.js compatible with your operating system;
- Check Installation Location: Verify whether Node.js is installed in one of the standard directories like /usr/local/bin/ or C:\Program Files\nodejs\.
2. PATH Environment Variable Not Set:
- Understanding PATH: The PATH environment variable is crucial as it specifies directories where executable files reside;
- Set PATH Variable: Make sure that the directory containing the Node.js executable is added to the PATH variable;
- Windows: Control Panel > System > Advanced system settings > Environment Variables;
- Unix-based Systems: Modify the .bash_profile or .bashrc file;
- Verify PATH Settings: Double-check the PATH variable to ensure it includes the correct path to the Node.js executable.
3. Other Installation Issues:
- Dependency Problems: Node.js relies on various dependencies. Ensure all necessary dependencies are installed correctly;
- Conflicts with Other Programs: Check for conflicts with other software installed on your system;
- Permissions: Ensure appropriate permissions are set for Node.js and its related directories;
- Firewalls and Antivirus: Sometimes, security software may interfere with Node.js installation or execution. Temporarily disable them and try again.
4. Debugging Tools and Resources:
- Node Version Manager (NVM): Consider using NVM to manage multiple Node.js installations effortlessly;
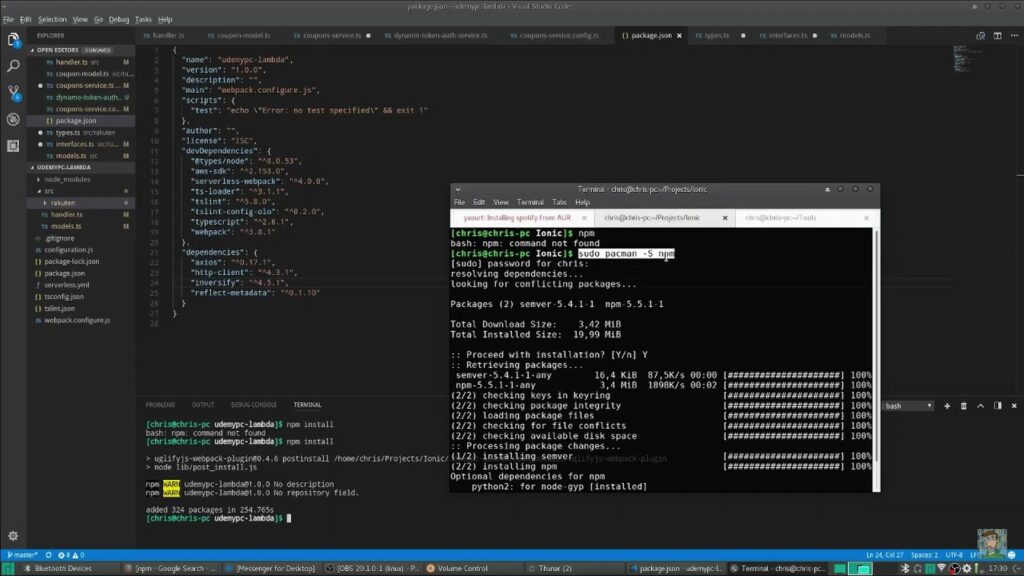
- Package Managers: Utilize package managers like npm or yarn to install and manage Node.js dependencies seamlessly;
- Community Forums and Support: Seek help from online communities such as Stack Overflow, Reddit’s r/node, or the official Node.js forums;
- Official Documentation: Node.js documentation provides comprehensive guides and troubleshooting tips for common issues.
Troubleshooting Steps for Resolving “Node.js Command Not Found” Error
Encountering the “Node.js command not found” error can be frustrating, but fear not! Below are comprehensive troubleshooting steps to help you resolve this issue and get back to coding smoothly.
1. Verify Node.js Installation
Before diving into more complex solutions, it’s crucial to ensure that Node.js is correctly installed on your system. Follow these steps:
- Open your terminal;
- Type node -v and hit enter;
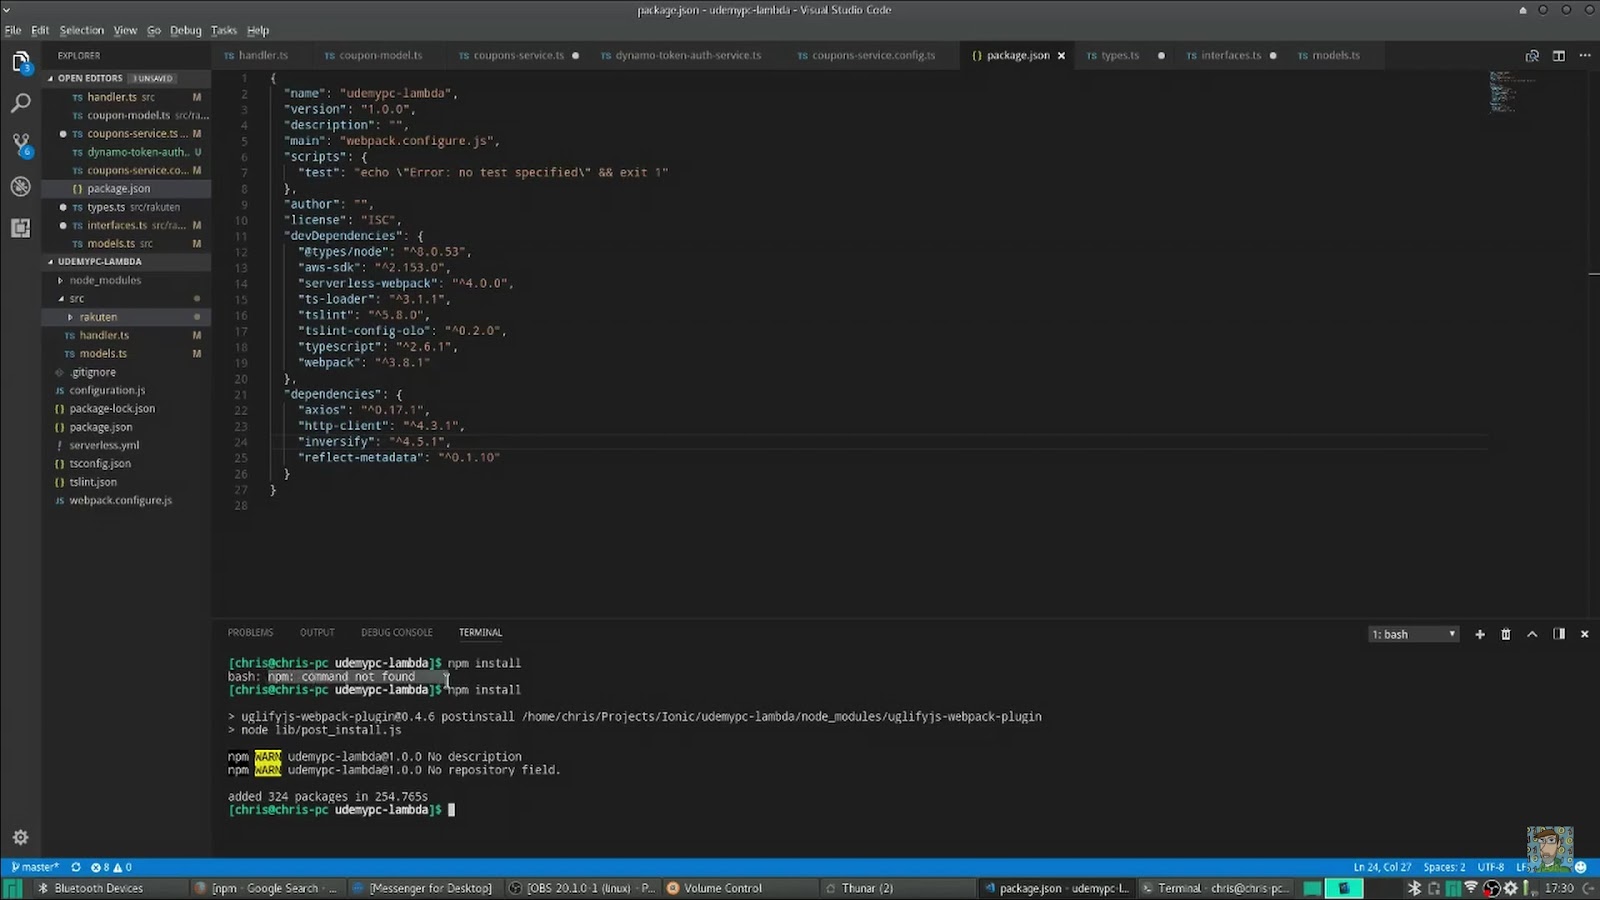
- If Node.js is installed correctly, the terminal will display the installed version. However, if you encounter an error message, it indicates an incorrect installation.
2. Setting the PATH Environment Variable
If Node.js is installed but you’re still facing the command not found error, adjusting the PATH environment variable might be necessary. Here’s how to do it:
Locate the Node.js executable file on your system. Typically, it resides in the /usr/local/bin directory. Open your terminal and execute the following command, replacing /path/to/node with the actual path to the Node.js executable file:
export PATH=$PATH:/path/to/node
This command appends the Node.js executable file’s path to the PATH environment variable, enabling your system to locate it when executing Node.js commands.
3. Update Node.js and npm
Outdated versions of Node.js or npm (Node Package Manager) can sometimes cause compatibility issues or errors. Consider updating both to their latest stable versions:
Update Node.js by visiting the official Node.js website and downloading the latest installer for your operating system.
Similarly, update npm by running the following command in your terminal:
npm install -g npm@latest4. Reinstall Node.js
If the issue persists despite following the above steps, a complete reinstallation of Node.js might be necessary. Before proceeding, ensure to uninstall the existing Node.js installation thoroughly.
- Uninstall Node.js using your system’s package manager or by manually deleting its files and directories;
- After uninstallation, perform a fresh installation of Node.js by downloading the installer from the official website and following the installation instructions provided.
5. Check System Path Permissions
Occasionally, incorrect permissions on system paths can prevent Node.js from being recognized. Ensure that the directories containing Node.js binaries have appropriate read and execute permissions for the user running the commands.
6. Verify System Environment Variables
Double-check other environment variables, such as NODE_PATH or npm_config_prefix, that might affect Node.js’s functionality. Ensure these variables are correctly configured and not conflicting with the Node.js installation path.
7. Utilize Version Managers
Consider using version managers like nvm (Node Version Manager) or n to manage multiple Node.js installations and easily switch between them. These tools provide greater flexibility and control over Node.js versions, minimizing potential conflicts and errors.
Making the PATH Environment Variable Permanent:
To ensure smooth functioning and accessibility of Node.js across various terminal sessions, it’s crucial to make the PATH environment variable permanent. This allows your system to locate Node.js executables without manually specifying their paths each time you use them. Here’s how you can achieve this:
- Locate Your Shell Profile File: Depending on the shell you’re using, such as Bash or Zsh, the profile file may vary. Common ones include ~/.bash_profile, ~/.bashrc, ~/.zshrc, etc;
- Open the Shell Profile File: Use a text editor or command-line tool to open the shell profile file associated with your shell. For instance, you can use nano, vim, or any text editor of your choice;
- Add the Command: Append the command to add Node.js to the PATH environment variable at the end of your shell profile file. This typically involves adding a line similar to the following:
export PATH=”$PATH:/path/to/nodejs/bin”
Replace /path/to/nodejs/bin with the actual path where Node.js binaries are located on your system.
- Save and Exit: After adding the command, save the changes to the shell profile file and exit the editor;
- Reload the Shell: To apply the changes, either restart your terminal session or execute source ~/.bash_profile (or the appropriate profile file for your shell) in the current terminal window.
By following these steps, Node.js will be seamlessly integrated into your system environment, ensuring convenient usage across various terminal sessions.
Reinstalling Node.js:
In cases where the Node.js installation is faulty or corrupted, reinstalling it can resolve issues and ensure a clean setup. Here’s a step-by-step guide to reinstall Node.js:
- Uninstall Node.js: Before reinstalling, it’s essential to remove the existing Node.js installation from your system. This can typically be done using the package manager specific to your operating system. For example, you can use apt-get for Ubuntu or Homebrew for macOS to uninstall Node.js;
- Download the Latest Version: Visit the official Node.js website and download the latest version of Node.js suitable for your operating system;
- Install Node.js: Follow the installation instructions provided on the Node.js website to install the downloaded package;
- Verify Installation: After installation, verify that Node.js and npm (Node Package Manager) are properly installed by running node -v and npm -v commands in your terminal. This should display the installed versions of Node.js and npm, respectively.
By reinstalling Node.js using the latest version, you ensure that you have a clean and updated installation, reducing the chances of compatibility issues and errors.
Updating npm:
npm, the Node Package Manager, frequently releases updates to enhance functionality, introduce new features, and fix bugs. Keeping npm up to date ensures compatibility with the latest Node.js features and packages. Here’s how you can update npm to the latest version:
Run npm Update Command: Open your terminal and execute the following command:
npm install -g npm
This command installs the latest version of npm globally on your system.
- Verify Update: After the update process completes, verify that npm is updated successfully by running npm -v in your terminal. The displayed version should match the latest npm release;
- Consider Node.js Compatibility: Ensure that the updated npm version is compatible with the installed Node.js version on your system. Incompatibility between npm and Node.js versions can lead to unexpected errors and issues.
Updating npm regularly ensures that you have access to the latest npm features and improvements, enhancing your Node.js development experience.
Checking for Conflicts with Other Programs:
In some cases, conflicts with other programs installed on your system may interfere with the proper functioning of Node.js. Here’s how you can identify and resolve conflicts:
- Review Installed Programs: Make a list of programs installed on your system that may interact with Node.js or its dependencies. Pay attention to programs related to development, package management, and system utilities;
- Disable or Uninstall Conflicting Programs: Temporarily disable or uninstall programs that are known to conflict with Node.js. This includes antivirus software, firewalls, virtualization software, and other tools that may interfere with file access or network communication;
- Check System Logs: Review system logs or error messages for any indications of conflicts or compatibility issues between Node.js and other programs;
- Isolate the Issue: If you suspect a specific program is causing conflicts, try running Node.js in isolation, without the conflicting program active, to see if the issue persists.
Conclusion
In conclusion, while encountering the “Node.js command not found” error can impede development progress, it is a manageable issue with the right approach. By understanding the underlying causes and following the troubleshooting steps outlined in this article, developers can swiftly overcome this obstacle and resume their work seamlessly. Remember, troubleshooting errors is an integral part of the development process, and each challenge presents an opportunity for growth and learning.